Wednesday, October 2, 2019

Attachment of the Empennage components

RV14 Build September 23 & 25

Attachment 

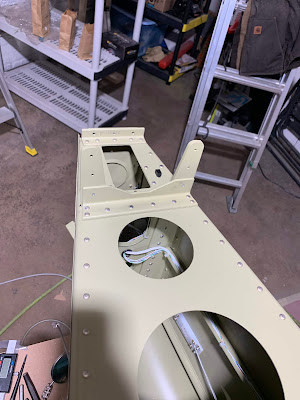
Finishing up the attachment, I have to mount the right elevator and drill the elevator horns, mount the horizontal stab and final drill the rear spar to attachment brackets, install the horizontal stab, mount the rudder and check all the clearances! Time to work.

Using my new toy to check the degrees of deflection to make sure I have a full range of motion. I did have trouble with the elevator leading edges rubbing on both right and left. I had in take them off message the leading edge shape and re-install a few times before it was right.
Elevator Attachment

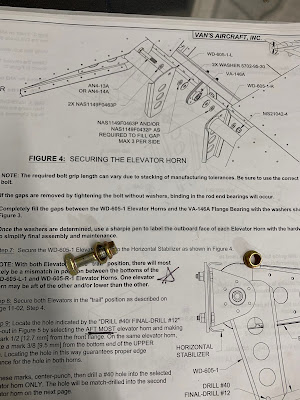
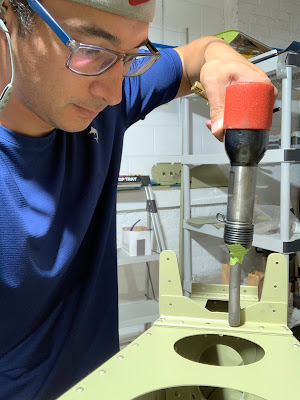
I didn't get a picture of it but the plans have a small piece of tube that "fits" into the center bearing for the elevator attachment and a #30 drill bit fits in the middle that is used to drill the pilot hole before using the step drill. Followed plans but I used emery cloth and my power drill to reduce the diameter of the tube to fit snug into the bearing and then the drill drill to final drill the center of the tube to take the drill bit. Next I stepped drilled the hole to its final size.
Elevator Attachment

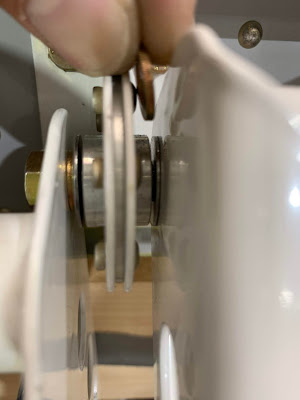
Time in install the elevators and figure out which combination of washers works!
Elevator Attachment

This is kind of a pain because I kept dropping the washers, but in the end I needed required washers plus 1 of the thin spacer washers per side.
Elevator Attachment

Done and O so pretty

Looking good!

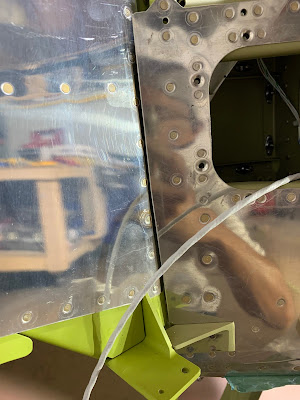
On to mounting and final drilling the horizontal stab. I had to pull the elevators back off to do this. You final drill the top and bottom holes on each side.

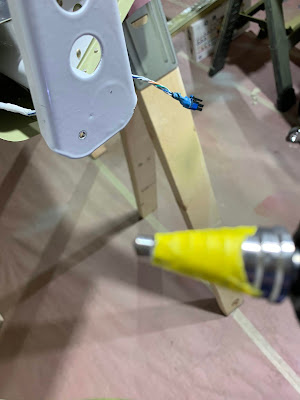
My original plan was to step up the hole size and final drill it with the reamer, but I didn't have the clearances with the drill to get straight on the holes.

I bought and angle drill but it was too big and bulky so I had to go with long drill bits, I still tried to step up the hole size and finish with the reamer. This worked, but Im gonna need to invest in a tight space angle drill I think.

Thats on and drilled, now I put the Vertical Stab back on and mock up the rudder and the elevators, again, to check final clearances. 

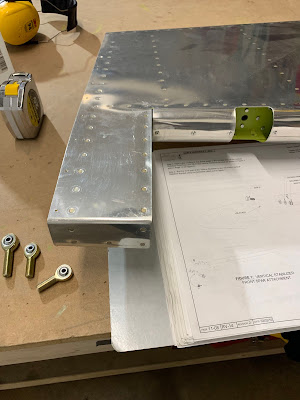
Installing the rudder rod end bearings. I used my small ruler and micrometer to get the distances correct here again.
Rudder Attachment

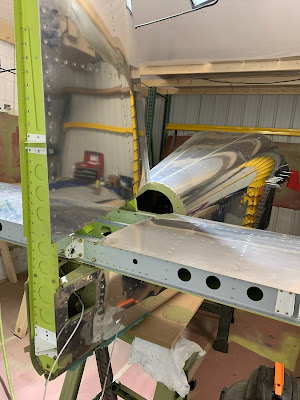
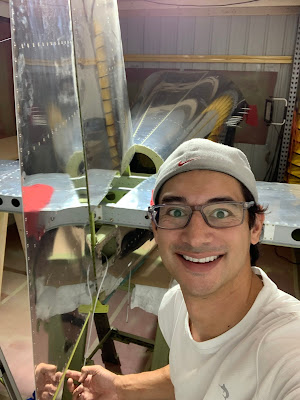
The vertical and horizontal stabs are on.
Rudder Attachment

Boom rudder is on! This is a little tricky by yourself but it can be done with some tape to hold as a third hand
Rudder Attachment

Rudder looks good, Still planning to rebuild it, but Ill fly with this one first and rebuild before I paint I think?
Rudder Attachment

Checking the rudder clearances, all good.
Rudder Attachment

Rudder Attachment

This kit besides the fairing tips is done!! Just got the bill of lading for the fuselage kit so perfect timing I would say. Photo shoot time!!


 Attachment 8.0 Hours


Aft Fuselage

RV 14 Build September 13 & 17

Aft Fuselage

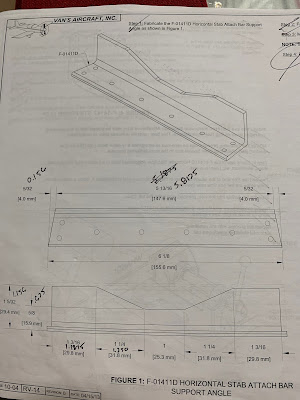
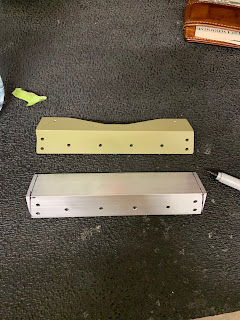
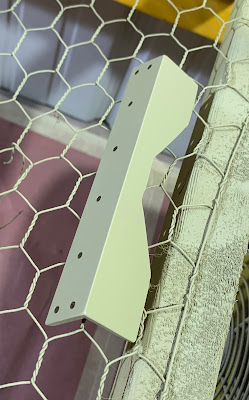
My replacement horizontal stab attach bar support angle showed up and I was able to get it cut, prepped and primed on the first day of work.

This is the plans for the rework.
Horizontal Stab Support Angle

I have a better understanding of what the angle does and where it sits, it definitely helped in the fabrication knowing how it will be used.
Horizontal Stab Support Angle

Overall Im happier with this version of the support angle than the first, I did have to go back and hit it with a little more primer after it was done drying I noticed my coverage on part wasnt great.
Horizontal Stab Support Angle

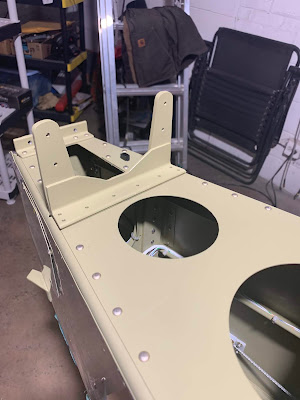
Time to work the install!
Horizontal Stab Support Angle

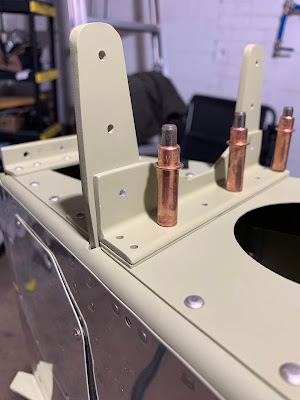
Getting ready to match drill the hole that I messed up the first time around.

Match drilling successful this time!
Horizontal Stab Support Angle

Pretending to rivet for the Camera lol
Horizontal Stab Support Angle

Done! And this completes Section 10: Aft Fuselage
Horizontal Stab Support Angle

Aft Fuselage Hours 4.0

Thursday, September 12, 2019

Attachment of the Empennage components

RV14 Build September 12

Attachment 

Since Im still waiting on a bracket and the next kit I started to mess around with attaching the components today.

Doing this wasn't in the plans yet, but I wanted to see it all together!

Measured the bolt grip length and labeled them, also labeled the bags with the socket size. Should have done this a long time ago.


Vertical stabilizer Mounting plate is installed!

Just looks so good!

Installed the trim motor finally, now the Elevator section is technically done!

I thought this would be hared to get the rod end bearings close to the correct distance but it was relatively straight forward, the threats move it a lot with 1/2 a turn when you are close so its easy to tell where you should be.


Left Elevator installed on the horizontal Stabilizer!

Attachment 2.0 Hours

Horizontal Stabilizer mistake repair...AGAIN

RV14 Build September 12

Horizontal Stabilizer

The repair that I thought worked...well didn't. The two holes that I drilled are 3/32 different on there center point. I have no idea how I was so far off. Oh well, plan B it is. Drill out the rear spar, flip it and install it in the correct orientation to the front spar. Then I can use the front spar mounting holes that Vans Drilled.

Time to start drilling rivets!

Got the rear spar out without any damage!

Using a punch to remove the old rivets from the spar since its thick.

Its nice that I can use the squeezer to install all these at least

Almost have the top done.

Top is done, just flip and repeat

All the pop rivets are back in and now have to squeeze the last rivets on the inner ribs.

Done and Done! Call the Horizontal Stabilizer section complete....Finally.

Horizontal Stabilizer 3.0 Hours


Friday, August 30, 2019

Aft Fuselage

RV 14 Build August 10 & 27

Aft Fuselage

Been moving slow this August getting the airplane built. Seems like I keep making little mistakes that require parts or tools. Oh well, finally a little progress. Matt came to the shop and helped me put the aft fuselage back together to the point that I had it before I decided to drill everything apart and re-do my work.

Getting the shims between the tail spring mount and the bulkhead. You can see in this picture though the clekos in the horizontal stab mounting bars...I ran out of those larger rivets. Decided to press forward and install the bulkhead and put those rivets in later.

The bottom aft skin came together much nicer this time around.

Finally moved beyond where I had it 2 months ago, note to self, slow down and go home if you dont have the tools, parts, or energy. A day or 2 is shorter and cheaper than 2 months or rework!

Another view of the side with almost all of the rivets in!

The larger rivets came in, I used the squeezer where I could and drove the remaining ones, glad this worked out.

Optional dimpled access panels need these different nut plates that don't come with the kit, ordered them from aircraft spruce, the install went mostly smooth. Had to drill out 1 and redo it.

Finally the entire aft sides are done!

Work on the aft deck!

Cruising along!

And my mistake for the day... Drilling this bracket I didn't have the double plate under it so I drilled the holes slightly to low...New part ordered.

You can see with the double plate riveted to the deck how the hole in the bracket is higher than the hole in the stabilizer mounting bar. I probably could "fix" this but i've learned it usually faster and easier and causes less damage to get a new part and do it again.

 Moving forward anyway! Drilling the mounting holes for the vertical stabalizer!

Oh man looks like and airplane!

The holes start as #30 and need to be perpendicular to the bulkhead and 1/4". I step drilled them with 3 drill bits and finished with the 1/4" reamer.

Boom airplane tail!

Aft Fuselage Man Hours 19.0 Hours

Thursday, August 8, 2019

Horisontal Stabilizer Mistake Repair

RV14 Build August 2

Horizontal Stabilizer

Just as a recap. When I first assembled the HS the primer I used wasn't mixed correctly and I was concerned it wasn't going to cure and cause issues down the line. So I drilled everything apart and stripped the primer off and re-primed. Since I had assembled everything once I did it again mostly from memory and this is where I got myself into trouble. The front and rear spars have an Up and Down orientation and depending on how you look at it I flipped 1 of them when installing them. I thought I would be able to modify the rear spar to work, but the rivet holes to mount to the brackets are on an angle and not straight 90 degrees to the fuselage so the orientation of the rear became the driver. This meant I needed to drill out the rear spar or located and drill new mounting holes in the front spar.

I decided to drill the front spar. First I ordered the front spar doubler and match drilled the mounting holes into it. The red arrows show the holes that need to be drilled.

After I match drilled the double i bolted it on using the Vertical stab mounting bolt holes for orientation and then used a drill bit guide block to drill straight.

Here goes nothing!


Repeating the process on the other side.

I think I managed to pull this one off! I send pictures to Vans and am still waiting on there reply as to if this is ok! If not I will be building a new Horizontal Stab.....yikes! If they say its all good then this is officially done!


Horizontal Stabilizer Hours 3.0

Before Start and First flight testing

 R14 Build August & September 21 Testing Getting into the fun stuf!! Putting gas in for the first time. Have the airplane up to get 15 d...