Showing posts with label Elevator. Show all posts

Monday, July 15, 2019

Aft Fuselage and Elevator Mistake fixing July 15

RV14 Build July 15

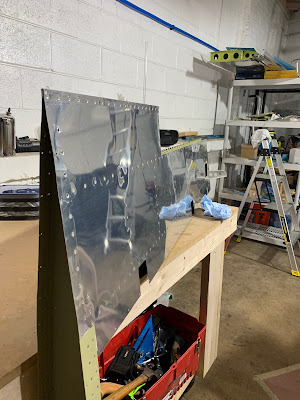
Aft Fuselage

I received the new tools that I was waiting on to try and fix my mistakes on the elevator and the aft fuselage. The title mistake fixing is a bit of a misnomer, attempted mistake fixing might be better.

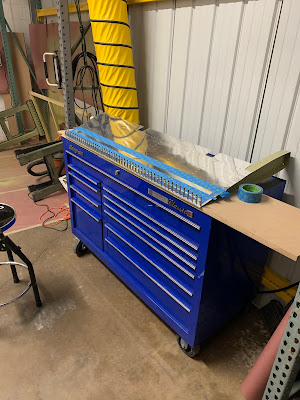
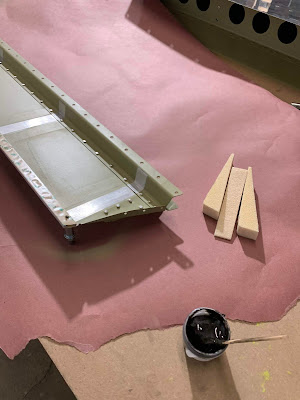
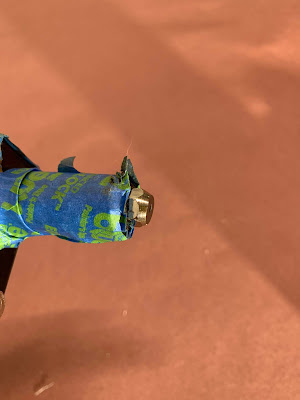
I started right in with the middle tool the 1/8 close quarter dimple die from Cleveland tools. They didn't work for what i was trying to do. This Aft Fuselage skin in thick and the pul rivet style of the dimple broke the shaft before setting the dimple. Then I thought why don't I drill it to size and place the dies around the hole and shoot and buck them like a rivet. This worked really well to make dimples!! The problem was I didn't clean up the holes well enough and upon inspection they were cracked in the dimple. I decide to drill out the whole bottom aft skin and reorder it as well as the bulkhead because those dimples cracked too. Lesson here...DEBURR better.

Cracks in the bulkhead dimple

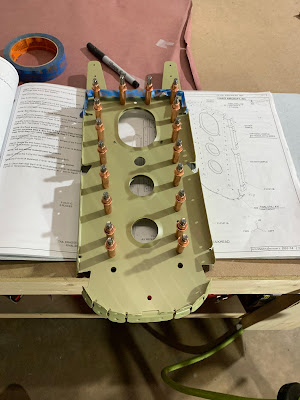
I thought about reusing the Horizontal Stab attaching bars, but they were only $11 so I ordered new ones to match drill and assemble the bulkhead together.  Ill save these as spare metal/Parts.

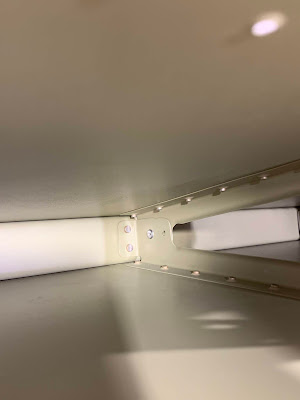
On the left side lower stiffener my rivet drilling, which caused this can of worms in the first place, bit me again. So I ordered that as well. I think Im going to trim the stiffener and make a double and rivet it onto of the other instead of risking more damage by drilling out the stiffener the rest of the length.

The end result....Moving backwards today.

Elevators

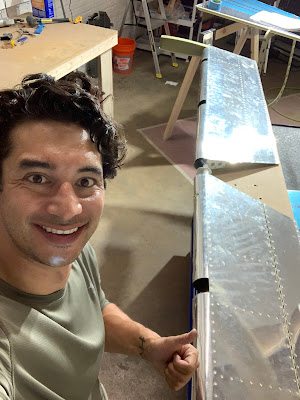
The dimple die for the holes in the elevator trim motor access panel worked great! Finally a victory today. All i need to do is put the pins on the wires and into the molex connector and the elevators will be done!

Just kidding, I didn't know how to use the crimper and messed up the pins, new ones on order.

All in today cost my 4.5 hours and $120 in new parts. So much learning, this is what Im calling mistakes now....I need a beer.

Aft Fuselage 4.0 Hours, Elevators 1.5 Hours


Sunday, July 7, 2019

Elevator Riveting July 2

RV14 Build July 2

Elevator

The elevator ribs have been curing for a week now so plenty of time. Today I will rivet the trailing edges and start to work the leading edges to bend them curved and rivet. I finished the bends and installed the counter weights! The Elevators are done except for the trim tab motor and mounting bracket.
Elevator

Setting the squeezer up for riveting

First you half set the rivets with these flat sets
Elevator

Then completely set the rivets with this special set that is made to the angle of the trailing edge

Trailing edges are done!
Elevator

Elevator

Bending the trim tab Hinge Pin

So this work is from the 5th, but to separate the work on the elevator vs aft fuselage Im posting it with this post. Rolling the leading edges, this is time consuming and hard work to get them to look good and line up.

Cutting the counter weights with a band saw worked ok at best, but it got the job done.

Boom! Mostly finished Elevators Sans the trim tab motor
Elevator


I miss read the plans....again. I didn't dimple the holes circled in red. I was able to get 3 of the 5 with the tools that I have. I ordered a smaller squeezer yoke to get the last 2, hopefully that work!


Elevators 8.0 Hours

Elevator Ribs June 21

RV14 Build June 21

Elevator

I'm finally ready to ProSeal the foam ribs into the elevators! I ordered the smaller thing from Van's from other forums this should be enough to do all of the elevator foam ribs and it was the BARELY, I would order 2 just so you don't have to stretch it so far.
Mixing the ProSeal

I started with the trim tab, after you proseal the ribs in you have to rivet the tab together unlike the elevators that cure for several days first before riveting.
Elevator Trim Tab

Riveting the trim tab

Next I moved on the the elevators, it was basically a straight forward process. After you seal them put a weighted board on top to help everything law flat when curing.

Used just about every bit I could get out of the container!

Elevators 3.0 Hours

Thursday, June 27, 2019

Aft Fuselage Prime and Assembly June 15 & 17

RV14 Build June 15 & 17


The 15th was an easier day where I assembled the parts that I had already primed.
Afte Fuselage Bulkhead

Aft Fuselage Bulkhead

Aft fuselage Bulkhead


I started to dimple the next bulkhead and I noticed the primer flaking off around the dimples. I must not have done a good enough job as surface prep so I decide to strip off the primer and respray it. The side that had good adhesion was a pain in the A$$ to get clean off. Which is kinda nice to know that this stuff works so well!

Taping off the holes not to dimple.

I decided by the end of the week I wanted to get the assembly to this page. So next time Ill have to debur, prep, and prime parts.

Back at it on the 17th! The trailing edge 3m tape finally showed up from amazon so I took the first hour and put it on the elevators. I noticed on 1 of them that there was a gab in between the skin and the trailing edge ill need to work with an edge seamer to bend down after the tape cures.

Trailing edge piece all taped up
Elevator trim tab trailing edge

See the gap where the red line is.

Back to the rear fuselage. So its the same old process now of edge deburring, paint prep, and primer. Matt stopped by for a bit to hangout!


The yaw damper mounting kit showed up, Ive decided to install it now during the build, at least drill the holes now because the access is way better than crawling back into the fuselage after its completed.

Matt making me a saw horse!

Aft Fuselage 13.5 Hours, Elevators 1.0 hours


Friday, June 7, 2019

Elevator Assembly June 7

RV14 Build June 7

Elevator Assembly

Made a ton of progress today getting the elevator finished! A buddy from upgrade stopped by and helped, didn't get a picture of him because we were cruising but thanks a ton Matt R!! Not a lot of pictures today either sorry! But basically closed out all the rivets up to the point of ProSealing the trailing edge.
Fornt Spar Skin riveting

Rib Tips

Started to scuff the trim tab and attach the trailing edge, the thin part in the right of the picture, with the tape but I ran out!!! Guess we are done for the day. Next step is ProSeal the wedges and rivet the trailing edges.

Neither Matt nor I could find anywhere in the plans where they have you close the row of rivets on the rear spar bottom skin outboard side after you no longer need access. We both read through the directions to the end of the Elevator and couldn't find it???? I made an executive decision that since I had help to rivet the rear spars after everything else was done, hope this doesn't bite me later!

Elevator 9.5 Man Hours - Yeah for Help!!

Elevator Assembly June 5

RV14 Build June 5

Elevator Assembly

Today I am installing the Front Spar Assembly into the Elevators. Getting at the 2 pop rivets in the rear of the elevators wasn't possible without first modifying one of the Pop Riveters. I followed the instructions in the EAA video for pulling pop rivets in tight spaces. You basically grind one of the pop rivet pullers on an angle so you can hold the tool on an angle and give you more room to work.
Pop Rivet Puller Modification

Pop Rivet Puller Modification

The first rivet went in well! The modified tool seemed to work well, should have done this for the rudder, Oh well, now I know for when I rebuild it.
Front Spar Pop Rivets

Im ready to install the Front Spar, or so I thought. Turns out I missed 2 rivets on each assembly that I had to shoot first!

Now thats done I can start to rivet the Front Spars in. I started to deviate from working them both at the same time and just focused on finishing the Left Elevator at this point. The plans had several lines of rivets on the skins and rear spar to leave open so you can have access later.
Plans

Leaving the line of rivets open on the bottom skins give you access to the top skin to shoot the 2 red arrow rivets, The plans say you can use pop rivets, but it wasn't that had to shoot them. The 3 blue marked rivet holes are longer than the rest of the Elevator Rib Tip Flange.
Left Elevator Front Spar

After you are done with the Shear Clips  and 2 red arrows from above you don't need access anymore and start to close the skins up the rest of the way.
Sheer Clips


Elevators 4.0 Hours


Before Start and First flight testing

 R14 Build August & September 21 Testing Getting into the fun stuf!! Putting gas in for the first time. Have the airplane up to get 15 d...