RV14 Build June 5
Elevator Assembly
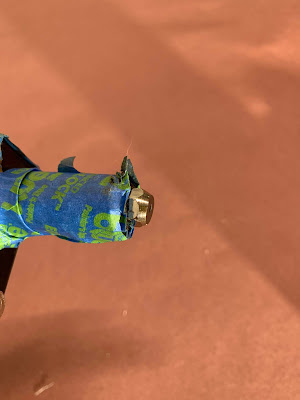
Today I am installing the Front Spar Assembly into the Elevators. Getting at the 2 pop rivets in the rear of the elevators wasn't possible without first modifying one of the Pop Riveters. I followed the instructions in the EAA video for pulling pop rivets in tight spaces. You basically grind one of the pop rivet pullers on an angle so you can hold the tool on an angle and give you more room to work.
The first rivet went in well! The modified tool seemed to work well, should have done this for the rudder, Oh well, now I know for when I rebuild it.
The first rivet went in well! The modified tool seemed to work well, should have done this for the rudder, Oh well, now I know for when I rebuild it.
Im ready to install the Front Spar, or so I thought. Turns out I missed 2 rivets on each assembly that I had to shoot first!
Now thats done I can start to rivet the Front Spars in. I started to deviate from working them both at the same time and just focused on finishing the Left Elevator at this point. The plans had several lines of rivets on the skins and rear spar to leave open so you can have access later.
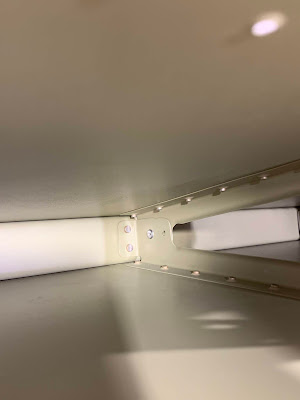
Leaving the line of rivets open on the bottom skins give you access to the top skin to shoot the 2 red arrow rivets, The plans say you can use pop rivets, but it wasn't that had to shoot them. The 3 blue marked rivet holes are longer than the rest of the Elevator Rib Tip Flange.
After you are done with the Shear Clips and 2 red arrows from above you don't need access anymore and start to close the skins up the rest of the way.
Elevators 4.0 Hours


No comments:
Post a Comment