RV14 Build May 21- 31
Upper FWD Fuselage
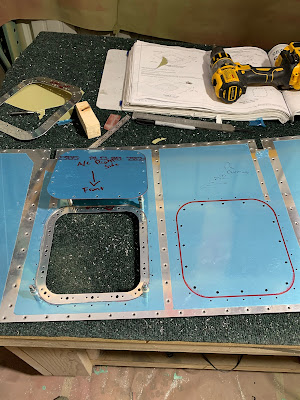
Since I was using Pro-Seal on the upper skin to attach doubler I decided I should work on the air vents as they needed some too. I decided to stop short of installing them because the avionics subframe isn't riveted on yet and it looked like the air vents might get in the way of doing this.
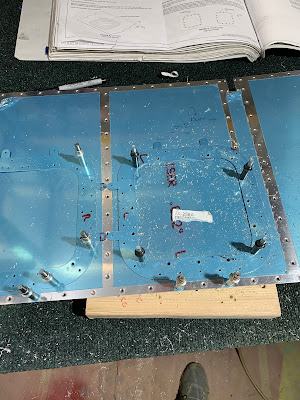
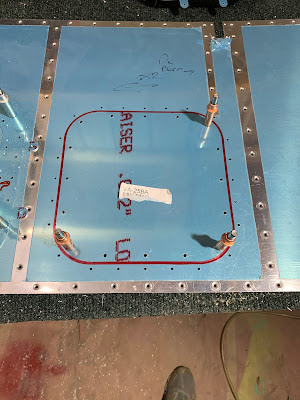
I started by lining up the airvents with the brackets to match cut the outside line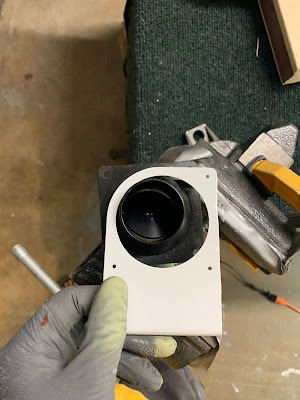


Then I traced the line onto the NACA vent and but the grinding wheel to take off the material.
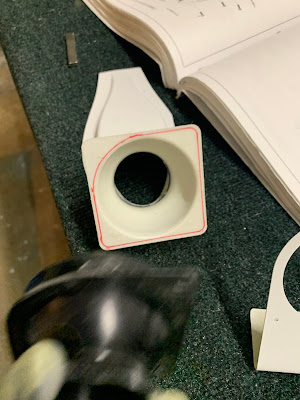

You can see its definitely not flush.

I emailed Vans about this and turns out the NACA vents were out of spec and they are sending me new ones. Well before I got this word back I decided I would jut re-bend the forward metal brace to the size of the NACA vent. It was about 1/8 off.
I thought this would be hard, but it turns out the bracket around the metal vent is still plastic and the Dremel cut it no problem and the Scotch-Brite wheel finished off the shape.
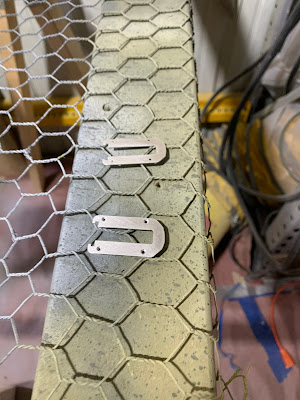
This is where I ran into troubles. The plans say to make sure everything sits flat against the skin so i checked it on my tool box.
So I bend the flange flap and used my impact hammer to flatten it our as much as possible. I did draw a bend line where the old bend was first so I could use it a s a reference for my bend.

I don't have a metal bender so I clamped it into a vise and used a piece of wood to bend it and a hammer to sharpen the bend where needed.
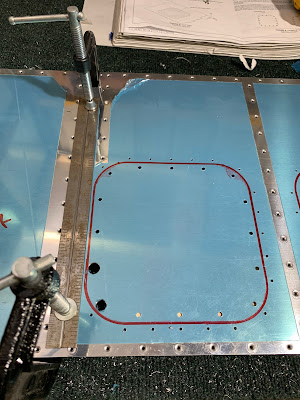
Looks like I nailed it

Then I Pro-Sealed the surface between the NACA vent and the air vent, screwed it together to cure. Right about here is when I got the email that Vans was going to send me the correct spec NACA vents. O well I guess ill have spares for the future now.


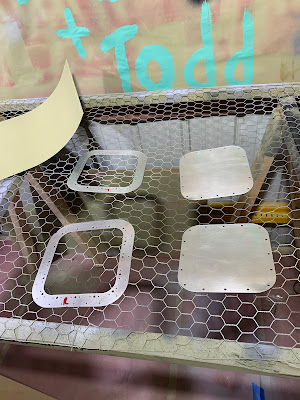
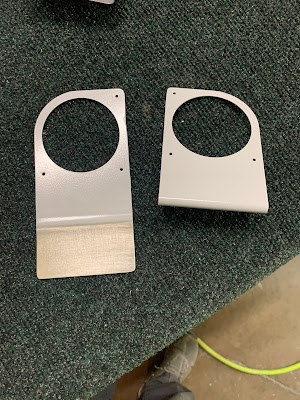
2 Air vents done and ready to install.
Upper FWD Fuselage 3.0 Man hours