RV14 Build May 21- 31
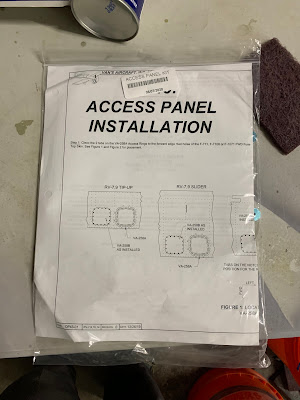
Access Panel Installation
I'm waiting on the wing quick build and the finishing kit so I decided to install the new access panel kit option that Vans added. I read about it on the forums and decided why not. It would be easier to do now than later since the top forward skin is still off. Im considering putting the skin on now with the access panels, but Im not sure. It probably is advantageous to have it off stiff to hep with the avionics install.
I wasn't sure where or how to start. The directions are more broad based than I was use to with the rest of the RV14 plans. So I started with match drilling the holes.
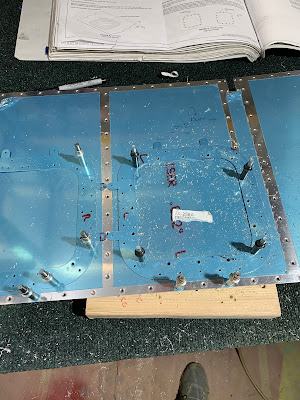
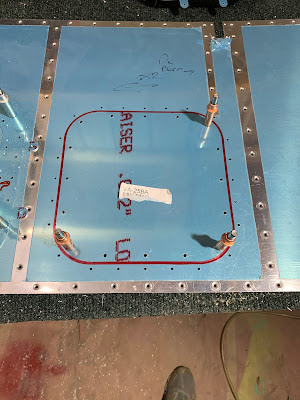
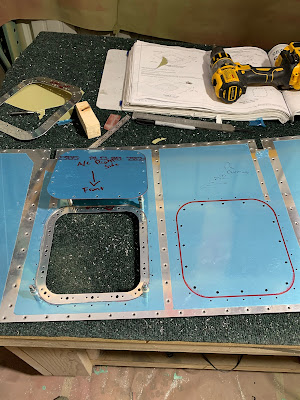
After the hole were drilled I clekoed on the access panel covers and traced the outline for my cut lines.
The plans have you tim as required the 1 corner on each side. I found that the 14 has a very small interference that I notched out with my Dremel.

Testing to see how much of an interference. This really wasn't a good way as the firewall has some flex in it. I ended up measuring the distance from the center of the last rivet hold on the rib the the edges and used the same rivet hole on the top skin to see where on the doubler to trim. It worked well enough


I bought a nibbler from Eastwood and used a ruler to hold a straight edge to run the nibbler next to.
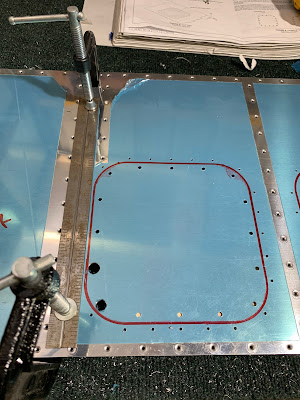
Then I free and cut the corners on the first side, this worked okay. I don't love the accuracy, but its done now. For the second hole a drilled around the radius with a #30 drill bit a bunch of times and then cut it with the nibbler and ground to the final size with the Dremel. This provided a much better result.

I then installed the doubler and used it to align the access panel to test the fit. I ground where needed with my Dremel to the final size.
Time to prep for primer.
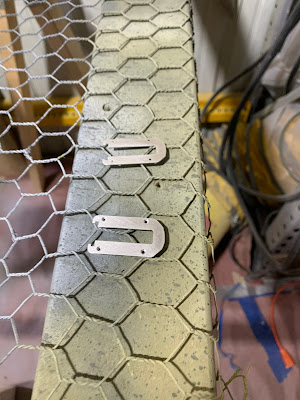
I also had these canopy hinge cover doublers that I had to re-order that needed primed and installed on the top skin so I did these now too.
Priming Done

I started with dimpling

Then added the nut plates.


Time to mix up some Pro-Seal. I'm really glad I got the drill adaptor fro the mixer. I put a bunch in a cup after mixing and used tongue depressors to apply and spread the little amounts i needed.

The little doubler had to be sealed and double flush riveted in. The squeezer made easy work of this.

I sealed the doublers to the skin, although i didn't get a picture of it then riveted it in place. I then started to make the gasket for the access panel. I have never done this before so I hope it works. Basically put on a bead of sealant and cover with plastic wrap.


Install the covers and let the sealant cure.


After the sealant cured I removed the covers and the plastic wrap came right off leaving behind the gasket! Hopefully it enough to keep water out. Won't really know till i fly her through the rain.


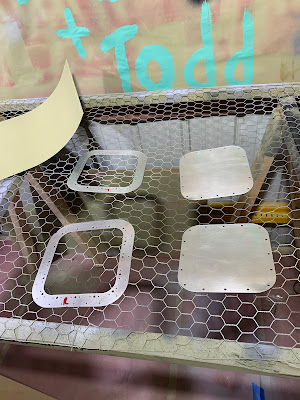
Test fit with the panels installed and gaskets made.

Access Panel Installation 8.0 Man Hours


No comments:
Post a Comment