RV14 Build June 21
Working on the exhaust hangers. You cut the metal to length then squeeze 1 end to cause it not to be round a have a flair. This is what hold it into the rubber tube.
Kind of see the flair in the photo.
This is how it installs on the exhaust tube.
Getting the exhaust all lined up was a bit of a puzzle. I finally was able to make sense of it. Used the antisieze called out in the plans in all the joints.
When I removed the caps covering the exhaust ports they were filled with oil
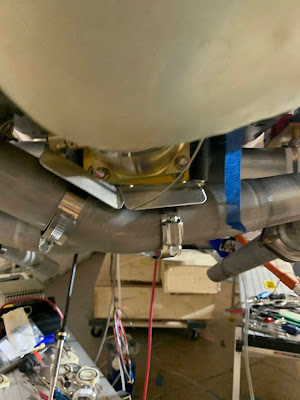
Exhaust all mocked into place.
Flanges are torqued
Now that I know how the pipes run Im installing the fuel flow transducer.
I made a spacer to get the transducer to sit level and not bank against the oil sump.
Double heat shield for the fuel injector.
Tighten the exhaust mounting bolts until they bottom out.
Time to start in on the cabin heat.
First thing you do is cut the tubes to length
There was a lot of trial and fit in this stage. Working the metal wire back as needed per the plans.
Getting the hoses clamped into place. I used RTV anywhere that those hoses came in contact with another surface.
RTV the corners of the Co-Pilot cabin heat inlet. This forces the air to stay in the tubes or enter the cabin here. If it stays in the tubes it flows over the the pilot side where it enters the cabin or flows overboard.
One of the 2 exhaust shrouds on the right side of the photo.
Better view of the smaller exhaust shroud, just the the hose clamps.
Exhaust 8.5 Hours


No comments:
Post a Comment