RV14 Build September 23 & 25
Attachment
Finishing up the attachment, I have to mount the right elevator and drill the elevator horns, mount the horizontal stab and final drill the rear spar to attachment brackets, install the horizontal stab, mount the rudder and check all the clearances! Time to work.
Using my new toy to check the degrees of deflection to make sure I have a full range of motion. I did have trouble with the elevator leading edges rubbing on both right and left. I had in take them off message the leading edge shape and re-install a few times before it was right.
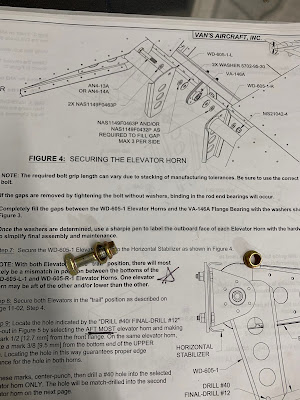
I didn't get a picture of it but the plans have a small piece of tube that "fits" into the center bearing for the elevator attachment and a #30 drill bit fits in the middle that is used to drill the pilot hole before using the step drill. Followed plans but I used emery cloth and my power drill to reduce the diameter of the tube to fit snug into the bearing and then the drill drill to final drill the center of the tube to take the drill bit. Next I stepped drilled the hole to its final size.
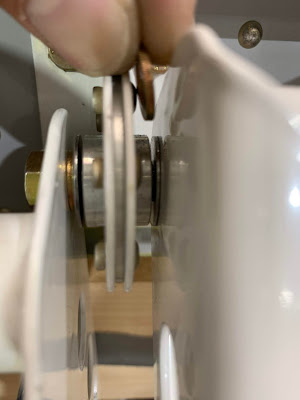
This is kind of a pain because I kept dropping the washers, but in the end I needed required washers plus 1 of the thin spacer washers per side.
Done and O so pretty
Looking good!
My original plan was to step up the hole size and final drill it with the reamer, but I didn't have the clearances with the drill to get straight on the holes.
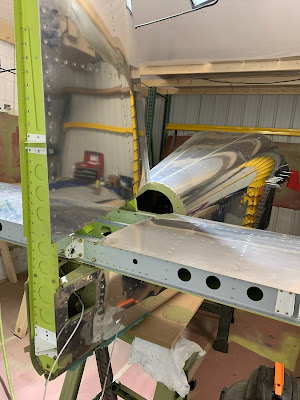
The vertical and horizontal stabs are on.
Boom rudder is on! This is a little tricky by yourself but it can be done with some tape to hold as a third hand
Rudder looks good, Still planning to rebuild it, but Ill fly with this one first and rebuild before I paint I think?
Checking the rudder clearances, all good.
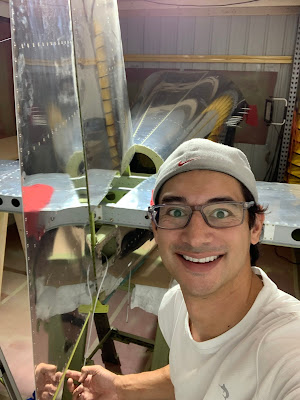
This kit besides the fairing tips is done!! Just got the bill of lading for the fuselage kit so perfect timing I would say. Photo shoot time!!
Using my new toy to check the degrees of deflection to make sure I have a full range of motion. I did have trouble with the elevator leading edges rubbing on both right and left. I had in take them off message the leading edge shape and re-install a few times before it was right.
I didn't get a picture of it but the plans have a small piece of tube that "fits" into the center bearing for the elevator attachment and a #30 drill bit fits in the middle that is used to drill the pilot hole before using the step drill. Followed plans but I used emery cloth and my power drill to reduce the diameter of the tube to fit snug into the bearing and then the drill drill to final drill the center of the tube to take the drill bit. Next I stepped drilled the hole to its final size.
Time in install the elevators and figure out which combination of washers works!
This is kind of a pain because I kept dropping the washers, but in the end I needed required washers plus 1 of the thin spacer washers per side.
Done and O so pretty
Looking good!
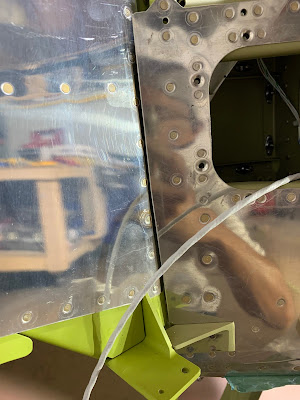
On to mounting and final drilling the horizontal stab. I had to pull the elevators back off to do this. You final drill the top and bottom holes on each side.
My original plan was to step up the hole size and final drill it with the reamer, but I didn't have the clearances with the drill to get straight on the holes.
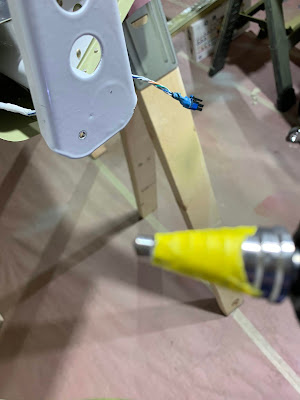
I bought and angle drill but it was too big and bulky so I had to go with long drill bits, I still tried to step up the hole size and finish with the reamer. This worked, but Im gonna need to invest in a tight space angle drill I think.
Thats on and drilled, now I put the Vertical Stab back on and mock up the rudder and the elevators, again, to check final clearances.
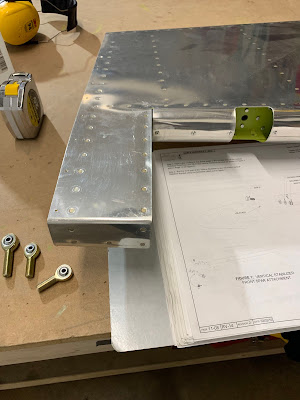
Installing the rudder rod end bearings. I used my small ruler and micrometer to get the distances correct here again.
The vertical and horizontal stabs are on.
Boom rudder is on! This is a little tricky by yourself but it can be done with some tape to hold as a third hand
Rudder looks good, Still planning to rebuild it, but Ill fly with this one first and rebuild before I paint I think?
This kit besides the fairing tips is done!! Just got the bill of lading for the fuselage kit so perfect timing I would say. Photo shoot time!!
Attachment 8.0 Hours







No comments:
Post a Comment