Sunday, July 14, 2019

Aft Fuselage July 12 & 13

RV14 Build July 12 &13

Aft Fuselage

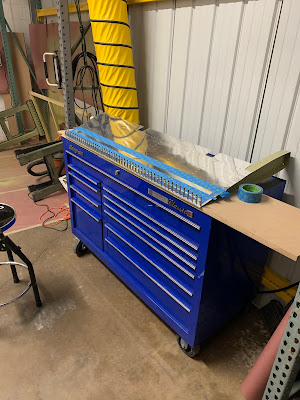
Spent maybe 30 mins riveting together the Elevator Trim tab motor bracket, but the rest was all on the aft Fuselage. Mostly installing the rest of the systems and cables and riveting on the side skins. Im still waiting on the tools to do close quarter dimpling to fix the elevator trim motor mounting #27 holes I forgot to dimple and the #30 holes that Im going to match drill to enlarge in the second to last bulkhead since my sloppy drilling of rivets oblonged the holes.
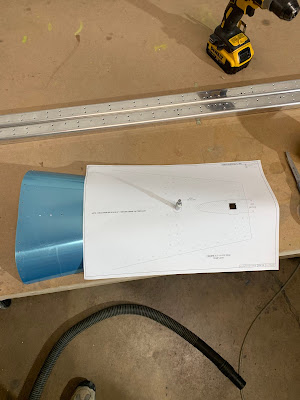
 Trim motor bracket mounting plate.
Elevator Trim Motor

Aft Fuselage systems installed!
 Static Lines

Rudder cables and cable guides


Cleaning, etching, and priming the last parts of this kit!!
Primer

Last wipe down with rubbing alcohol before spraying!


Time to install some of these skins! I jumped ahead in the plans a little. I can't install the aft deck until i fix the holes for the second to last bulkhead and reinstall that. My buddy Matt has been coming over to work with me while he sits on call, I can't tall you how nice it is to have a helping hand!!! Thank you Matt!

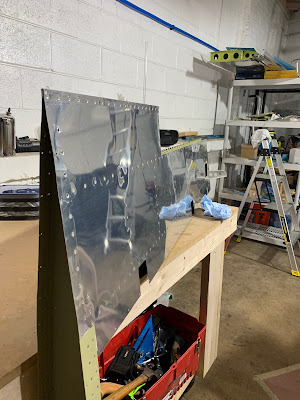
1 top side skin riveted on 1 to go!

Side skins are coming on nicely, just have to rivet the second top side skin, top skin, and finish the Aft deck area!

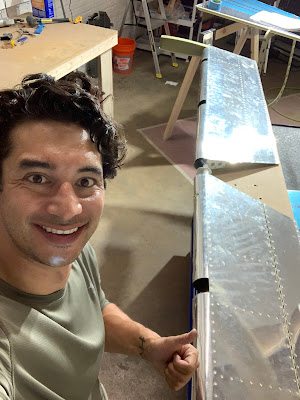
This thing is really looking like an airplane!

Aft Fuselage 24 Man Hours!!


Thursday, July 11, 2019

Fuselage Ordered July 10

RV14 Build July10

Fuselage Kit

I ordered the fuselage kit today, well technically I canceled the wing kit and ordered the fuselage kit. Building this thing mostly solo the scale of the project and timeline is weighting on me. For now I have decided to build the fuselage kit and order the quick build wings to save some time. I want to get this out of the shop space and into the air sooner! Also, the time commitment makes me feel like my life is on hold while Im building. Your hobbies shouldn't be a central cause of stress in your life Im told. I feel much better about this decision and in the future if I want to build the wings its still an option.

Aft Fuselage Assembly July 9 & 10

RV14 Build July 9 & 10

Aft Fuselage

Bill came out the first day to help with the riveting and we really got into a groove! I got a little hung up on the Aft lower skin and tail wheel mount. It was a tight space and just hard to work in. Later the next day this same area became a MUCH bigger issue.

Bill helped me get all the harder to reach rivets!


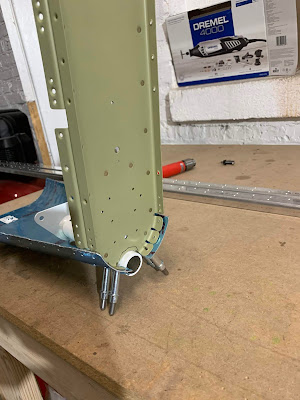
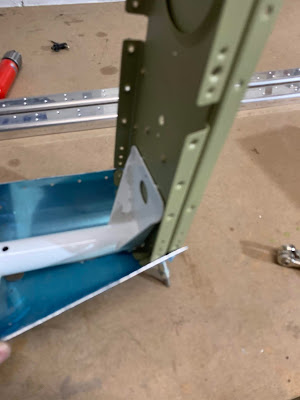
Now for the latest mistake/ stressor. This is the tail wheel mount and the aft bulkhead. The mount pops out of the rear of the aircraft through that notch on the bottom of the bulkhead. Well after I had riveted it in I noticed that I didn't cut the bulkhead notch big enough and it was rubbing on the weld bead of the tail wheel mount.

I was trying to go for the easier fix and cut the notch larger while everything was in place, like most times that I take this road I ended up causing more damage than I solved and I still had to do the "correct" fix and drill out the bulkhead in front of the rear out and remove the tail wheel mount to paint the areas that the power coating was taken off from my attempts to grind the bulkhead. But it gave me the access to make the notch larger.
 The mount sits down in that opening in the bottom aft skin in the right of the picture.

Larger opening on the left side of the notch.

In the process of drilling out the bulkhead, I was rushing like a dummy, I made the rivet holes larger!

So now the ones that are circled are going to become 1/8 rivets instead of 3/32. I ordered a close quarter dimple die to dimple the skin. Luckily the edge distances are all of to go to the larger rivets. As you can imagine I was feeling VERY low at this moment. The scope and size of the project felt crushing. I decided to rivet the rest of the skin up to the second to last bulkhead to feel like I accomplished something.


Aft fuselage 7.0 Hours


Wednesday, July 10, 2019

Aft Fuselage Assembly July 8

RV14 Build July 8

Aft Fuselage

New tool!! Smaller yoke so hopefully I can fix the holes I forgot to dimple in the elevators and can officially call those done. Fingers crossed it works!
 See how much small it is! Hopefully it will fit into that tight space

Back a few days ago I decided it would be a good idea to prime the lower skin when the side skins overlapped. I think that was a good plan, just poorly executed! I didn't remove all of the etch because it seeped under the tape and then dried and your not suppose to let it do that, turns out thats because it will continue to etch the metal and start what looked like surface corrosion. So I rewetted the area with etch per the instructions and cleaned it off VERY well this time, scotch brite the areas that looked like they needed it and primes. I just used a rattle can for this, because the part of the primer that isn't covered by the side skins I wanted to be easier to remove when it came time to paint.
Aft Fuselage

Ok, now that old mistakes are taken care of for the day on to new business. Dimpling the side skins, assembling the aft fuselage and mocking in the electrical, Which I ran down the wrong channel! Lucky i noticed before I finished riveting everything together the next day.

Trying to make sense of the cable bundles and where they go in the plans!

Starting to look like an Airplane!

I think I have everything mocked up

View from the back

Turns out this is where I was suppose to run the cables, lucky I caught this before finishing riveting.

Just really like this picture!

Aft Fuselage 10 Hours

Sunday, July 7, 2019

Aft Fuselage Mocking up and Prime July 5 & 6

RV14 Build July 5 & 6


With the elevators basically done back to work on the aft fuselage! Started out by countersinking the stiffeners. Im having issues with the runout on my Dewalt drill, but the air drill kept chattering with the counter sink, so Im gonna have to find a solution. There is way to much drilling ahead to not be able to do that comfortably.
Aft Fuselage

Rear lower skin cutting and drilling with the template. This is done so the tail spring mount can come though the skin.
Aft Fuselage

After the modifications
Aft Fuselage

Testing the tail spring mount clearance. You can see it doesn't sit flush with the rear bulkhead because of the weld bead on the mount. Ill have to cut away from the bulkhead to make room.

Marking where to cut.
Aft Fuselage

Testing the fit after cutting.
Aft Fuselage

Looks great now!
Aft Fuselage

Now just cleaning up the edges of the skins, etching the metal and prepping to prime, then priming.


Mixing the primer

Finally done for the day!


Aft Fuselage 10.5 Hours


Elevator Riveting July 2

RV14 Build July 2

Elevator

The elevator ribs have been curing for a week now so plenty of time. Today I will rivet the trailing edges and start to work the leading edges to bend them curved and rivet. I finished the bends and installed the counter weights! The Elevators are done except for the trim tab motor and mounting bracket.
Elevator

Setting the squeezer up for riveting

First you half set the rivets with these flat sets
Elevator

Then completely set the rivets with this special set that is made to the angle of the trailing edge

Trailing edges are done!
Elevator

Elevator

Bending the trim tab Hinge Pin

So this work is from the 5th, but to separate the work on the elevator vs aft fuselage Im posting it with this post. Rolling the leading edges, this is time consuming and hard work to get them to look good and line up.

Cutting the counter weights with a band saw worked ok at best, but it got the job done.

Boom! Mostly finished Elevators Sans the trim tab motor
Elevator


I miss read the plans....again. I didn't dimple the holes circled in red. I was able to get 3 of the 5 with the tools that I have. I ordered a smaller squeezer yoke to get the last 2, hopefully that work!


Elevators 8.0 Hours

Before Start and First flight testing

 R14 Build August & September 21 Testing Getting into the fun stuf!! Putting gas in for the first time. Have the airplane up to get 15 d...