Sunday, July 7, 2019

Aft Fuselage Mocking up and Prime July 5 & 6

RV14 Build July 5 & 6


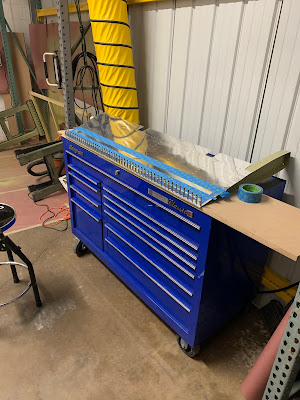
With the elevators basically done back to work on the aft fuselage! Started out by countersinking the stiffeners. Im having issues with the runout on my Dewalt drill, but the air drill kept chattering with the counter sink, so Im gonna have to find a solution. There is way to much drilling ahead to not be able to do that comfortably.
Aft Fuselage

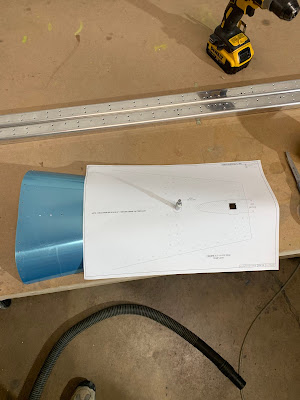
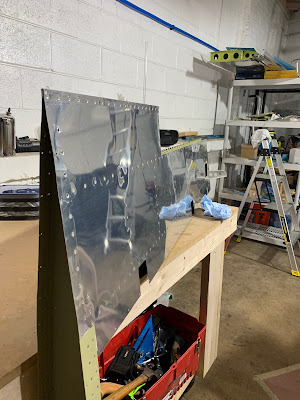
Rear lower skin cutting and drilling with the template. This is done so the tail spring mount can come though the skin.
Aft Fuselage

After the modifications
Aft Fuselage

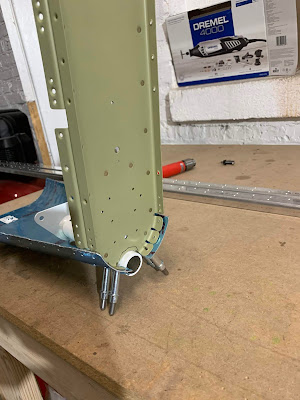
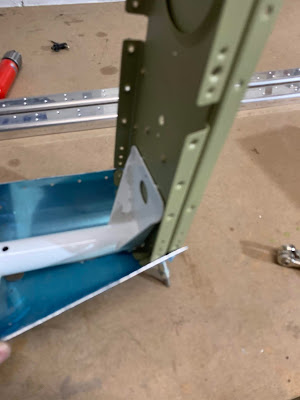
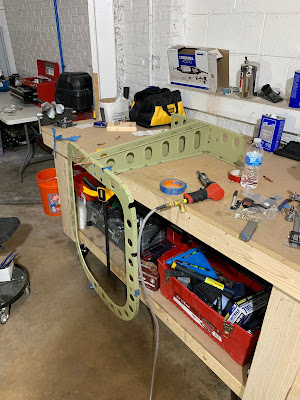
Testing the tail spring mount clearance. You can see it doesn't sit flush with the rear bulkhead because of the weld bead on the mount. Ill have to cut away from the bulkhead to make room.

Marking where to cut.
Aft Fuselage

Testing the fit after cutting.
Aft Fuselage

Looks great now!
Aft Fuselage

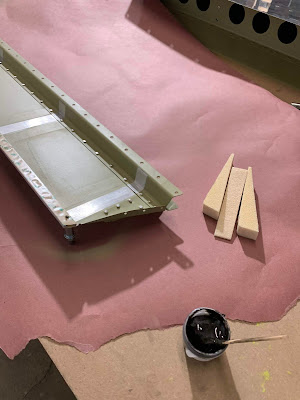
Now just cleaning up the edges of the skins, etching the metal and prepping to prime, then priming.


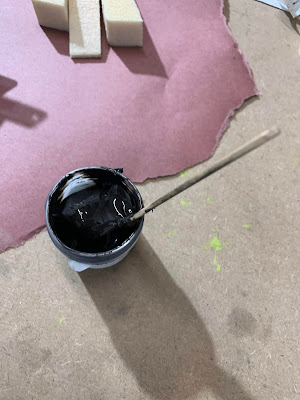
Mixing the primer

Finally done for the day!


Aft Fuselage 10.5 Hours


Elevator Riveting July 2

RV14 Build July 2

Elevator

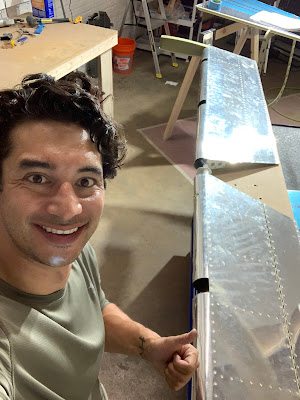
The elevator ribs have been curing for a week now so plenty of time. Today I will rivet the trailing edges and start to work the leading edges to bend them curved and rivet. I finished the bends and installed the counter weights! The Elevators are done except for the trim tab motor and mounting bracket.
Elevator

Setting the squeezer up for riveting

First you half set the rivets with these flat sets
Elevator

Then completely set the rivets with this special set that is made to the angle of the trailing edge

Trailing edges are done!
Elevator

Elevator

Bending the trim tab Hinge Pin

So this work is from the 5th, but to separate the work on the elevator vs aft fuselage Im posting it with this post. Rolling the leading edges, this is time consuming and hard work to get them to look good and line up.

Cutting the counter weights with a band saw worked ok at best, but it got the job done.

Boom! Mostly finished Elevators Sans the trim tab motor
Elevator


I miss read the plans....again. I didn't dimple the holes circled in red. I was able to get 3 of the 5 with the tools that I have. I ordered a smaller squeezer yoke to get the last 2, hopefully that work!


Elevators 8.0 Hours

Aft Fuselage Assembly June 19 & 20

RV14 Build June 19 & 20


Lots of riveting here for these 2 days, some countersinking that I didn't see in the plans before priming, and a little priming on the bottom skin after I looked at how the skins come together.
Aft Fuselage

Aft Fuselage

Aft Fuselage

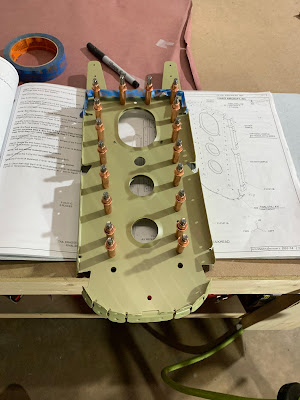
Dimpling the bottom skin

Riveting the Bulkheads


Missed a few counter sinks

Decided to use my solder iron to remove the plastic around the rivets to protect the metal when woking. Worked great....except i scored the metal with the iron so now I have to fix that!

Priming the bottom skin where the skins will overlap.

A few days later when I removed the tape I noticed what looks like surface corrosion! The etch got under the tape and dried, now I have to clean theses areas up.


Drilling the holes for the yaw damper servo mount.


Aft Fuselage 12.0 Hours

Elevator Ribs June 21

RV14 Build June 21

Elevator

I'm finally ready to ProSeal the foam ribs into the elevators! I ordered the smaller thing from Van's from other forums this should be enough to do all of the elevator foam ribs and it was the BARELY, I would order 2 just so you don't have to stretch it so far.
Mixing the ProSeal

I started with the trim tab, after you proseal the ribs in you have to rivet the tab together unlike the elevators that cure for several days first before riveting.
Elevator Trim Tab

Riveting the trim tab

Next I moved on the the elevators, it was basically a straight forward process. After you seal them put a weighted board on top to help everything law flat when curing.

Used just about every bit I could get out of the container!

Elevators 3.0 Hours

Thursday, June 27, 2019

Aft Fuselage Prime and Assembly June 15 & 17

RV14 Build June 15 & 17


The 15th was an easier day where I assembled the parts that I had already primed.
Afte Fuselage Bulkhead

Aft Fuselage Bulkhead

Aft fuselage Bulkhead


I started to dimple the next bulkhead and I noticed the primer flaking off around the dimples. I must not have done a good enough job as surface prep so I decide to strip off the primer and respray it. The side that had good adhesion was a pain in the A$$ to get clean off. Which is kinda nice to know that this stuff works so well!

Taping off the holes not to dimple.

I decided by the end of the week I wanted to get the assembly to this page. So next time Ill have to debur, prep, and prime parts.

Back at it on the 17th! The trailing edge 3m tape finally showed up from amazon so I took the first hour and put it on the elevators. I noticed on 1 of them that there was a gab in between the skin and the trailing edge ill need to work with an edge seamer to bend down after the tape cures.

Trailing edge piece all taped up
Elevator trim tab trailing edge

See the gap where the red line is.

Back to the rear fuselage. So its the same old process now of edge deburring, paint prep, and primer. Matt stopped by for a bit to hangout!


The yaw damper mounting kit showed up, Ive decided to install it now during the build, at least drill the holes now because the access is way better than crawling back into the fuselage after its completed.

Matt making me a saw horse!

Aft Fuselage 13.5 Hours, Elevators 1.0 hours


Before Start and First flight testing

 R14 Build August & September 21 Testing Getting into the fun stuf!! Putting gas in for the first time. Have the airplane up to get 15 d...