RV14 Build December
Wheel Fairings
I had drilled the outboard main wheel fairing brackets because the called for AN3H3A Bolts wouldn't fit in easily. Turns out this was a mistake, after all the work on the wheel fairing there was a relatively easy enough rotation where the fail end would move up and down about 2-3".
So I decided since I had the time waiting on the FWF kit to order new brackets are redo the work. I did these 1 side at a time, because I wasn't sure how much it would make a difference. Spoiler it removed almost all the movement and I ended up re-working both sides.

After installing the brackets it was just a matter of going through the process again. I used a dremel sanding wheel to sand out the Flux that was on the inside of the 2 halves of the wheel fairing. Before sanding.

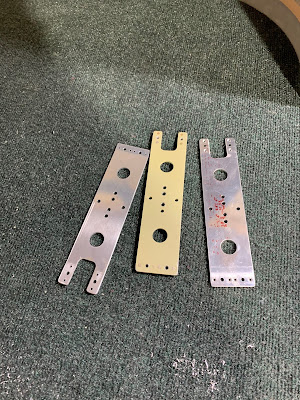
New Brackets. About to be deburred and primed.

The fit is very tight, I would say the bolts tap there way through.


This allowed the new bracket to to float on it while I reset the front and back wheel fairing height. What was helpful was the forward top screw hole on both inboard and outboard of the fairing location was set with the holes already drilled and I could use this to keep the "toe in" angle matched then I leveled the airplane and measure the distance the rear bracket hole is off from level and transfer that to the wheel fairing.


i used pan head screws to hold the fairing while the flux was setting up. After It set up I countersunk the holes and put in the correct screws. Since I still had time to kill before my next kit I decided I didn't really like the way the halves matted after being secured to the gear. There was a unevenness between all the screws.


Finally 2 wheel fairing that I am happy with and hopefully will be easy for the painters to finish and make perfect.


I had been working with the chop cotton flux so much I just went with it for the "filler" I should have used micro-balloons and did on the other side....it would have been way easier to sand. I taped off the front half to prevent flux from sticking to it, scuffed up the gel coat and laid on the flux.

After sanding forever I realized I needed more filler to transition smoother and this time I used micro. Much easier to sand.

Repeated for the other side.


Section 46B: Wheel Fairings 18.5 Hours


No comments:
Post a Comment