RV14 Build December/January
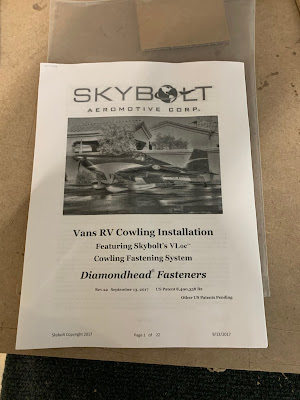
After reading about the top cowling hinge being hard to install and remove especially when the engine is hot I decided to look at Skybolt. I reached out to another builder about his experience with using it and he said he didn't reinforce the cowling as was getting some illowing between the fasteners. After reading dan Horton say 100lb/ft of pressure could be on the cowling and that he would definitely use quarter turns and reinforce with carbon I decided that was the path for me.
First thing to do is figure out the spacing. The directions are for some of the older RV models and start back with trimming the cowling, but the 14 design makes these steps not necessary.
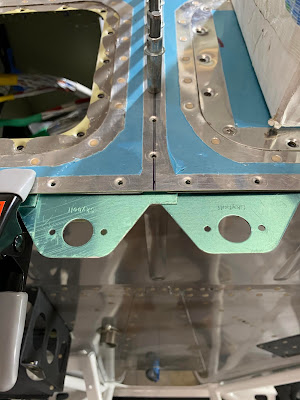
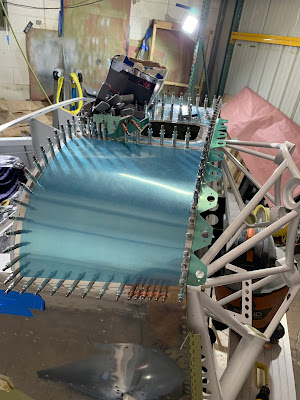
I found that if I went to the 3" spacing from 3.5" I could fit 18 brackets across the top firewall
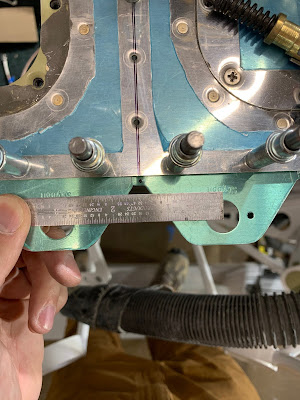
Next I had to find a center and work out towards the edges each way, measuring hole center to hole center as I went. Then clamping the brackets in place for match drilling.
I also measured from the forward skin edge to the end of the bracket hole center.
and per the instructions the flange overlap area I set a .250. Once everything was clamped and set I drilled.
I kept measuring and tweeking as I drilled. First i used a 3/32 drill and then final drilled with #40.
I wanted to carry the brackets down the edge, but the engine mount was too close and this is as far as the piano hinges go so Im hoping with the carbon fiber the cowling will be stiff enough.
All final drilled.
Then I countersunk the holes.
Some of the hols ended up in strange places on the flange overlap. I did my best to counter sink these so that the brackets would all be even.
I didn't get a photo after counter sinking but before this was the spacing for the cowling.
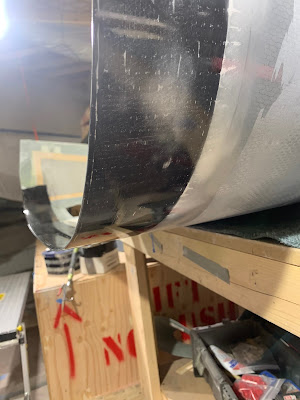
How thick the cowling is before reinforement.
My measurements after countersining gave me a gab of .078" from the top of the skybolt to the top of the forward skin. The Cowling was .050, the 8.8oz unidirectional carbon is .012x2 (layer top and bottom) = .024, and the 2.1oz fiberglass to cover the carbon is .002". This all adds up to .078, which would be perfect if I had a vacuum bag system. In the end the cowling ended up being .094" do to the extra resin from a hand layup.
The unidirectional carbon is extra strong, but the threads holding it together I should have trimmed off the leading edge. It proved troublesome for the fiberglass to lay down on smoothly.
Cutting the fiberglass to length.
After the carbon and the fiberglass I put on the peel ply.
Next day I did the bottom. This time I did trim the white strands form the forward edge, made for a much better layup of the fiberglass overtop.
Top of the cowling after removing the peel ply before sanding.
Bottom after removing peel ply before sanding.
After a few rounds of sanding and micro. I most concerned with the profile since it will be painted.
Final, for now, layer of epoxy.
Final layer of epoxy on the inside. Here I'm most concerned that the carbon is isolated from the aluminum with the fiberglass and anywhere that I might have sanded through with a layer of epoxy, this should stop galvanic corrosion. The bottom of the cowling will eventually get a medium to thick layer of white dyed epoxy to seal the cowling and help find any leaks, so this is good for now.
Final Layer on the top
Since the final cowling thickness was .094" and the gap was only .078" I made extra shims from .020" and plan on ordering an extra set of the shims that came with the kit to ensure the cowling is set as close to flush as possible, or rather the skybolt are adjusted so the cowling is flush in the end.
Shims and brackets ready for primer.
Etched and cleaned ready to prime.
Time to dry.
Looking good! Just need the FWF so i can hang the engine and get back to work!
Section 45 Cowling Skybolt Mod 16.5 Hours









No comments:
Post a Comment