RV14 Build October 7-11
FWD MID Fuselage Bulkheads
So this is a big post but its 1 week of work that crushed it out!
When you first get started its a little slow going pulling all the parts for each section because there are so many and finding them in the "kits" takes time. The "kits" aren't organized by build section but rather physical size it seems.
This is all the parts for section 25....so i thought, turns out I was missing 2.
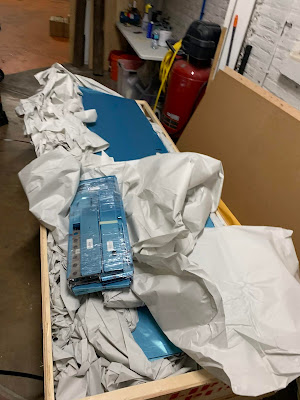
Decided to start brining work home in my new bin, I usually have a few hours in the morning before the gym or work that are wasted that I could be doing edge finishing and deburring.
Glamor shot of my countersinking the mid spares.
All done!
Good old prep for priming!
Finished the prep for priming in my boxers as home! liking the new productivity bin
Back to priming.
The plans say for the next step to insert rivets top and bottom to help with alignment. When I did this I noticed the top 2 rows of rivets where really close to the bulkhead flange and I wouldn't be able to set them.
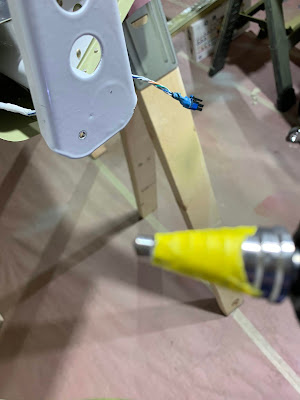
It was these 2 rows, so i put rivets in the bottom holes and covered with yellow tape to hold in place. This helped with the alignment and set the top rivets.
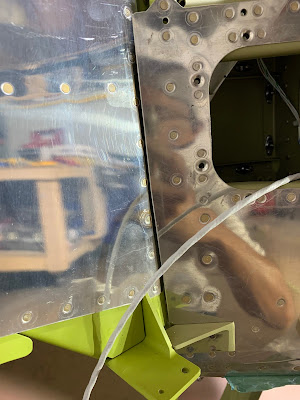
Putting the part on the bulkhead I noticed with the rivets where still really close/touching the flange. I knew this couldn't be right and after some head scratching I noticed the dimpled BOTTOM holes of the bulkhead where facing up....Bulkhead is upside down.
Such a better fit when everything is correctly aligned.
Dodged that HUMA moment and this bulkhead is done.
Brackets reamed and installed with temporary hardware.
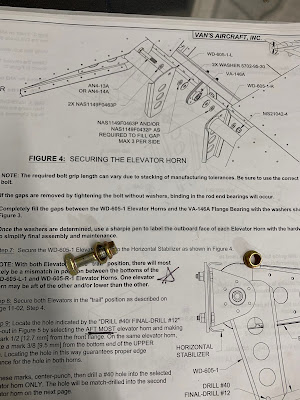
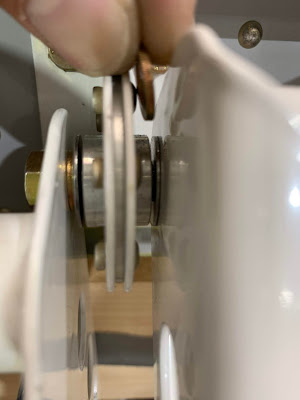
Bearings on the cover ribs.
When you first get started its a little slow going pulling all the parts for each section because there are so many and finding them in the "kits" takes time. The "kits" aren't organized by build section but rather physical size it seems.
This is all the parts for section 25....so i thought, turns out I was missing 2.
Decided to start brining work home in my new bin, I usually have a few hours in the morning before the gym or work that are wasted that I could be doing edge finishing and deburring.
Glamor shot of my countersinking the mid spares.
All done!
The fuselage plans only show half the airplane if the other side is mirrored so learning to read this and lay out the parts is a bit of a challenge. Here I'm trying to lay out the bearing assemblies and countersink them. I had to mock it up before I understood the orientation completely.
Good old prep for priming!
Finished the prep for priming in my boxers as home! liking the new productivity bin
Im getting better at working with my spray gun. I have turned the air down a little and all but closed the fluid nozzle, I can see how you want it wide open when spraying large surfaced but these smaller parts I was getting too much overspray.
New tool baby! Finally got the Cleaveland Tool Sub-Structure Dimple die. It makes a deeper dimple so the dimpled skin or other part sit in it better. Im using this on all substructure parts, where another dimpled part fits into it, and the regular dimple where a rivet will go into it.
It was these 2 rows, so i put rivets in the bottom holes and covered with yellow tape to hold in place. This helped with the alignment and set the top rivets.
Putting the part on the bulkhead I noticed with the rivets where still really close/touching the flange. I knew this couldn't be right and after some head scratching I noticed the dimpled BOTTOM holes of the bulkhead where facing up....Bulkhead is upside down.
Such a better fit when everything is correctly aligned.
Dodged that HUMA moment and this bulkhead is done.
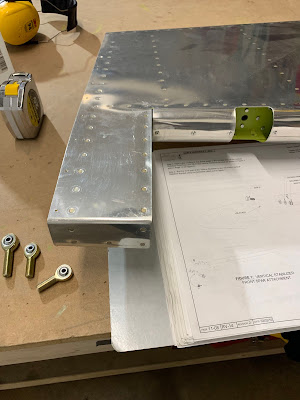
Per the plans used a drill press and a reamer I got from McMaster-Carr , they have everything for cutting its great, and reamed the holes with the wing attachment brackets.
Brackets reamed and installed with temporary hardware.
Bearing brackets assembled and back riveted. This should have been easier I feel like but I made it hard and 1 of the bearing was binding after installing it on the cover rib so I drilled it all out and re did the work. Really glad I did, now it works great.
Bearings on the cover ribs.
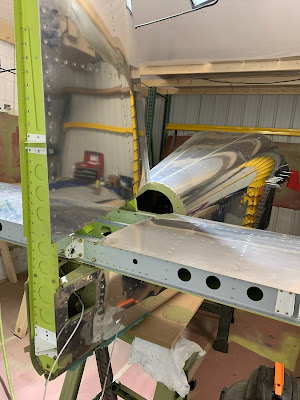
Installing the cover ribs on the spar.
I didn't get a finally picture because we were crushing work out, but besides the 2 side angles I missed and needed to prime and prep this section is done.
FWD MID Fuselage Bulkhead 29 Hours


